
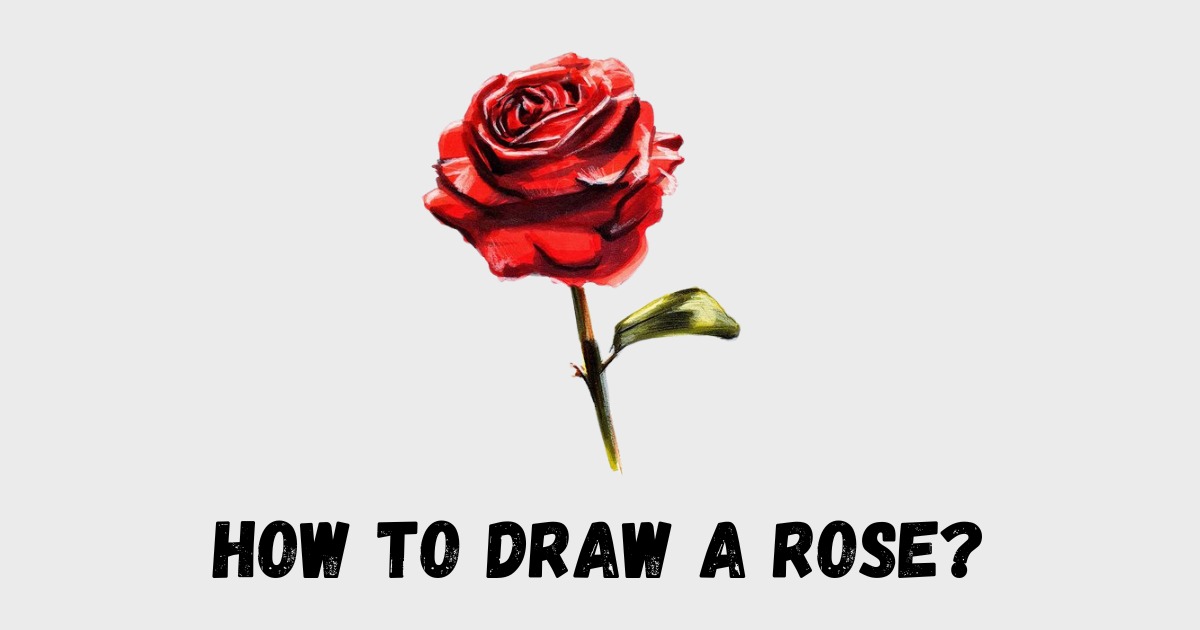
Roses are one of the most beautiful and iconic flowers, captivating artists and art lovers for centuries.
Learning how to draw a rose may seem challenging at first, but with the right techniques and some practice, anyone can create a stunning rose illustration.
In this comprehensive guide, we’ll walk you through the process of drawing roses step-by-step, providing tips for both beginners and more advanced artists.
Whether you want to draw a simple rose for kids or a realistic, detailed bloom, you’ll find all the guidance you need right here.
Drawing the Basic Structure of a Rose
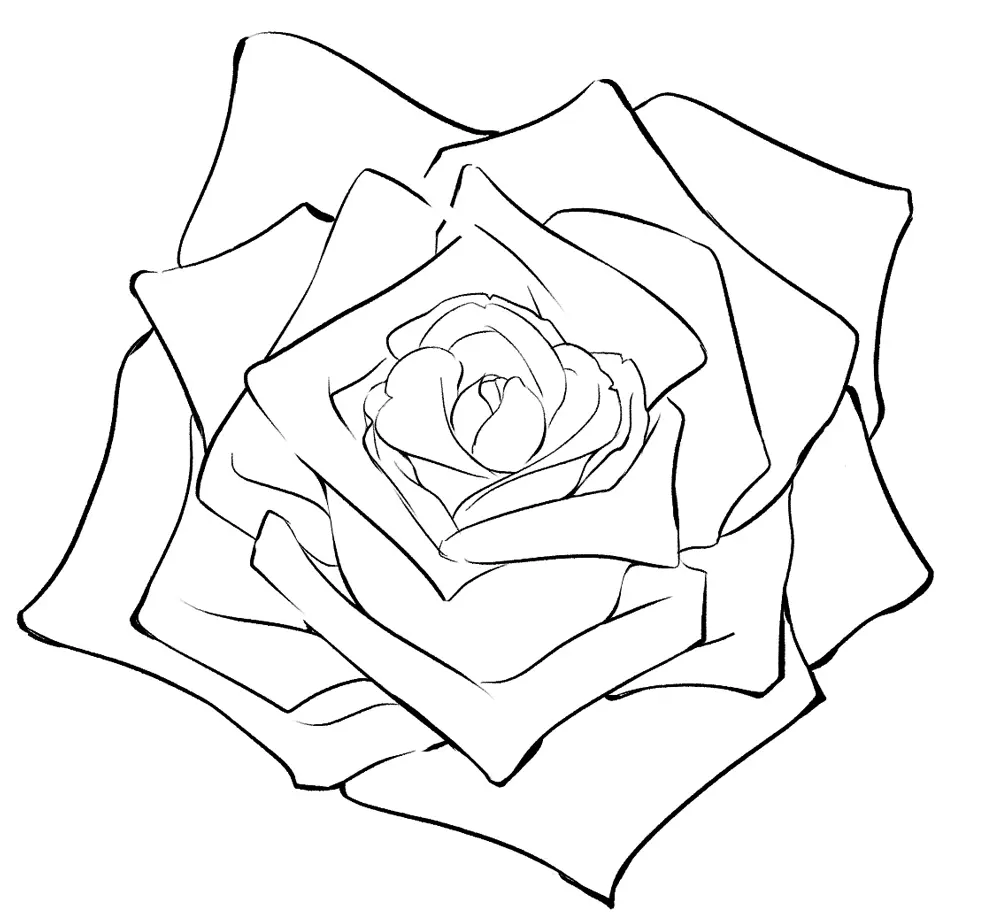
Before diving into the details, it’s important to understand the basic structure of a rose. Here’s how to sketch out the foundational shapes:
Step 1: Sketching the Center Bud Shape
Start by drawing a small oval shape in the center of your paper. This will be the base for the rose bud. Don’t worry about making it perfect – sketchy, light lines are ideal at this stage.
Step 2: Drawing the First Layer of Petals
Around the oval bud shape, draw a series of curved lines to represent the first layer of petals. These should be slightly larger than the bud and overlap each other a bit. Aim for about 5-6 petals in this first layer.
Step 3: Adding the Outer Petals
Now add another layer of petals around the first set. These outer petals should be larger and more open than the inner ones. Vary the shapes and sizes a bit to create a more natural, organic look. Add about 4-5 petals in this outer layer.
Step 4: Sketching the Stem and Leaves
From the base of the rose, draw a long, slightly curved line for the stem. Then sketch a few leaf shapes along the stem. Rose leaves are usually pinnate, with multiple leaflets on each side of the stem.
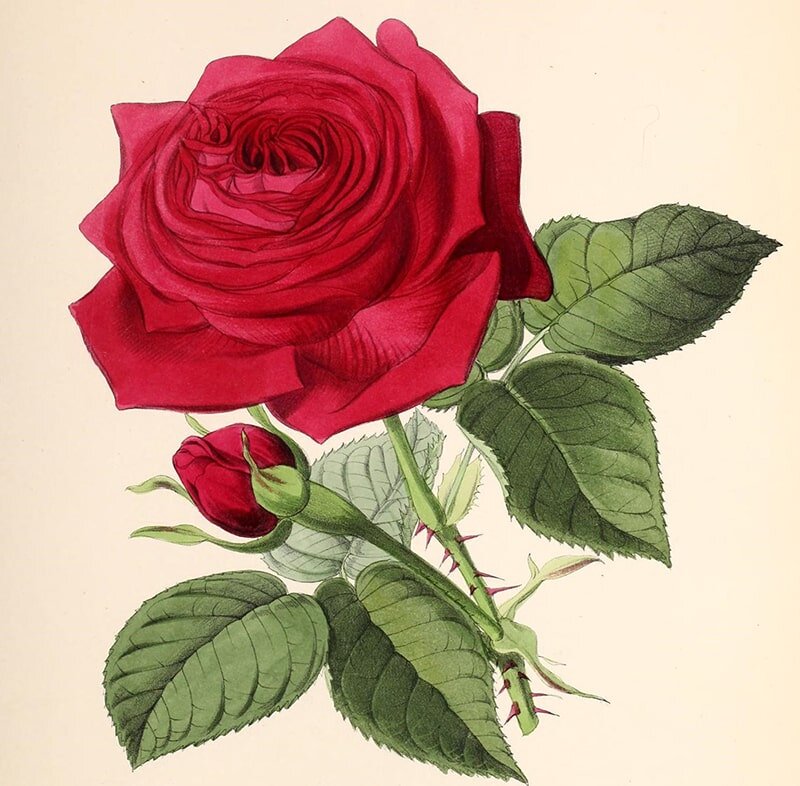
How to Draw a Realistic Rose?

To make your rose look more realistic and three-dimensional, pay attention to shading and details. Here are some tips:
- Use light, medium, and dark tones to create depth and volume. The center of the rose and areas between petals should be darker.
- Sketch petal edges that are ruffled or slightly wavy rather than perfectly smooth.
- Add details like petal veins and textures to make the rose look more lifelike.
- Include highlights and shadows, imagining a light source coming from one direction.
- Study and reference photos of real roses to understand their anatomy and characteristics.
With practice, these realistic details will become easier to execute. Don’t get discouraged if your first attempts don’t look quite right – each drawing is an opportunity to learn and improve.
Drawing a Beautiful Rose
In addition to realism, you can also focus on creating an aesthetically pleasing, stylized rose illustration. Here are some tips for drawing a beautiful rose:
Tips For Creating an Aesthetically Pleasing Composition
- Use the rule of thirds to place your rose off-center for a more dynamic composition.
- Create a sense of balance by adding buds, leaves, or other elements around the main rose.
- Consider the negative space around the rose and how it contributes to the overall look.
Using Curved Lines and Varying Petal Shapes For Elegance
- Experiment with different petal shapes, from pointed to rounded to ruffled edges.
- Use sweeping, curved lines for a sense of movement and grace.
- Vary the size and fullness of petals to create depth and interest.
Adding Details Like Petal Folds and Overlapping
- Sketch petal folds and creases to show how the flower twists and curves.
- Allow petals to overlap and intersect each other for a natural, layered effect.
- Use thin lines to suggest petal edges and thick lines for shadows and depth.
Choosing a Pleasing Color Palette or Shading Style
- Roses come in many colors, so choose one that fits your artistic vision. You could go for classic red, romantic pink, or sunny yellow.
- Experiment with different shading styles, from soft grayscale to bold and graphic.
- Consider adding a background color or wash to complement your rose illustration.
How to Draw a Rose for Adults?

Drawing roses is a rewarding hobby for adults, as it allows for endless creativity and self-expression.
Here are some tips geared towards adult learners:
- Take your time and don’t rush the process. Enjoy the meditative experience of sketching.
- Experiment with different techniques and styles to find what resonates with you. There’s no one “right” way to draw a rose.
- Use high-quality materials that you enjoy working with, whether that’s a certain type of paper or your favorite drawing pens.
- Look for rose drawing tutorials, classes, or workshops to deepen your skills and connect with other artists.
- Set up a dedicated space for drawing where you can focus and let your creativity flow.
Remember, the goal is to have fun and express yourself through art. Don’t get too caught up in perfectionism or comparing your work to others. Embrace the unique beauty of your own rose illustrations.
Drawing Roses With Pencil
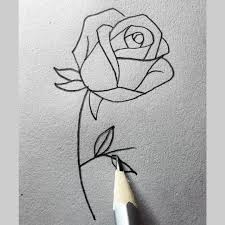
Pencils are a classic and versatile medium for drawing roses.
Here’s what to keep in mind:
- Start with light, sketchy lines to map out the basic shapes before committing to darker lines.
- Use a variety of pencil grades, from hard (H) to soft (B), to achieve different line qualities and tones.
- Create depth by pressing harder for darker areas and using a light touch for highlights.
- Blend and shade with a tortillon or blending stump for a smooth, polished look.
- Experiment with different pencil techniques like hatching, cross-hatching, and stippling.
While pencil drawings can be done with just a regular graphite writing pencil, having a set of drawing pencils with varying hardnesses will give you more options and control over your lines and shading.
Rose Drawing Ideas and Inspiration

Looking for some creative rose drawing ideas?
Here are a few prompts to get you started:
Different Rose Varieties To Draw
- Try drawing different types of roses, from classic hybrid tea roses to spray roses or climbers.
- Look up photos of unique rose varieties like the rainbow-hued “Peace” rose or the ruffled “Juliet” rose for inspiration.
Composition Ideas Like Bouquets or Single Blooms
- Sketch a lush bouquet of roses in a vase for a classic floral still life.
- Zoom in on a single perfect bloom for a bold, modern composition.
- Try an asymmetrical arrangement with roses cascading to one side.
Drawing Roses in Various Stages of Bloom
- Capture the tight spirals of a newly opening rose bud.
- Sketch an overblown rose with petals falling away for a sense of time and change.
- Draw multiple roses together, showing different stages of the blooming process.
Rose Drawing Prompts or Challenges to Try
- Use non-traditional colors like blue or purple for a fantasy rose illustration.
- Draw a rose entirely in shades of gray to focus on form and shading.
- Challenge yourself to draw 100 roses in 100 days to really hone your skills.
- Combine roses with other symbolic elements to tell a story or convey a mood.
The possibilities are endless when it comes to drawing roses. Use these ideas as a starting point, but don’t be afraid to come up with your own unique concepts and interpretations.
FAQ’s:
What Are Some Common Mistakes When Drawing Roses?
Some common mistakes include making the petals too uniform and symmetrical, forgetting to vary the sizes and shapes, and not using enough shading to create depth. Rushing the initial sketch phase can also lead to problems later on.
How Can I Make My Rose Drawings Look More Three-Dimensional?
To create a sense of depth and volume, use a range of tones from light to dark. Imagine a light source and shade the opposite side more heavily. Defining the edges of overlapping petals also helps create a 3D effect.
What Pencils Are Best For Detailed Rose Drawings?
Look for high-quality drawing pencils in a range of hardnesses. H pencils are good for light, precise lines, while B pencils are softer and better for shading. Aim for a set that includes 2H, HB, 2B, 4B, and 6B.
Can I Use Other Media Like Charcoal or Colored Pencils?
Absolutely! Roses can be beautifully rendered in all sorts of media. Charcoal is great for bold, expressive lines and deep black tones. Colored pencils allow for layering and blending of hues for vibrant, lifelike roses.
How Long Does it Usually Take to Draw a Realistic rose?
It depends on the size, complexity, and level of detail of your drawing. A simple rose sketch could take 15-20 minutes, while an intricate, realistic rose with shading could take several hours. The more you practice, the faster you’ll become.
Conclusion
Learning how to draw a rose is a fun and rewarding artistic journey.
Whether you’re a beginner or a more experienced artist, taking the time to observe, sketch, and shade roses will help you grow your skills and express your creativity.
Use this guide as a starting point, but don’t be afraid to experiment and develop your own unique rose-drawing style.
With practice and patience, you’ll soon be creating stunning rose illustrations that capture the timeless beauty and elegance of this classic flower.
So grab your pencils, put on some inspiring music, and start sketching – your perfect rose awaits!
Leave a Reply