
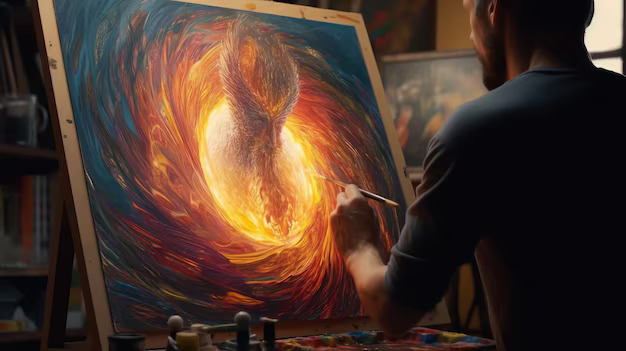
As an artist, capturing the essence of fire on canvas is both a challenge and a thrill. Fire is a dynamic and ever-changing element, making it one of the most captivating subjects to paint.
In this comprehensive guide, I’ll share my tried-and-true techniques for painting realistic and mesmerizing flames, whether you’re working with oils, acrylics, or watercolors.
Table of Contents
Understanding the Nature of Fire
Before we dive into the painting process, it’s crucial to understand the fundamental characteristics of fire. Fire is a chemical reaction that releases heat, light, and gas. The flame itself is a visible representation of this reaction, with different colors indicating varying temperatures and fuel sources.
The hottest part of the flame, often appearing blue or white, is the base where the combustion occurs. As the flame extends upward, it transitions to yellow, orange, and finally red at the outermost edges.
This color gradient is a result of the decreasing temperature and the presence of soot particles.
Materials Required
To paint fire effectively, you’ll need the following materials:
- Canvas or watercolor paper (depending on your preferred medium)
- Paints: Cadmium red, cadmium orange, yellow ochre, titanium white, and a deep blue (like Prussian blue or indigo)
- Brushes: A variety of round and flat brushes in different sizes, as well as a fan brush for blending
- Palette knife (for oil painting)
- Mediums: Linseed oil or painting medium (for oil painting), or water (for watercolor and acrylics)
Step-by-Step Guide to Painting Fire
1. Establish the Base
Start by blocking in the area where the fire will be located. For oil painting, use a thin layer of cadmium orange to establish the base of the flames. This vibrant orange will serve as the foundation for the rest of the colors.
For watercolor or acrylics, begin with a light wash of yellow or orange to create a glowing effect.
2. Build the Flames
Using a dagger striper brush or a small round brush, apply strokes of cadmium red and yellow ochre in an upward, wispy motion to create the illusion of flickering flames. Work in layers, allowing each layer to dry before adding the next.
As you build the flames, vary the intensity of the colors, with the brightest yellows and oranges at the base, gradually transitioning to deeper reds and even touches of blue at the outermost edges.
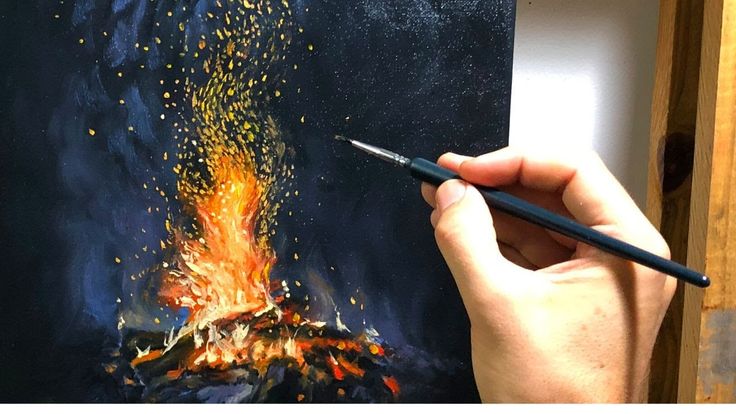
3. Add Highlights and Details
Once you’ve established the basic shape and color gradient of the flames, it’s time to add highlights and details. For oil painting, use a palette knife or a stiff brush to apply thick, textured strokes of titanium white at the hottest points of the fire.
In watercolor or acrylics, use a dry brush technique or a toothpick to scratch out highlights and create the illusion of sparks and embers.
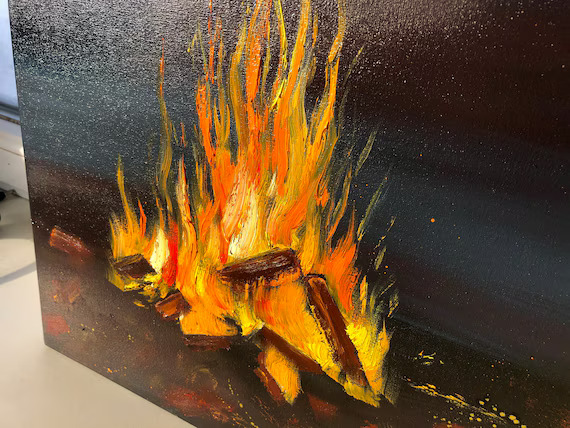
4. Incorporate Surrounding Elements
Fire doesn’t exist in a vacuum; it interacts with its surroundings. Consider adding elements like logs, rocks, or other objects that the fire might be illuminating or casting shadows upon. This will help ground the flames and create a more realistic scene.
5. Add Smoke and Atmospheric Effects
No fire painting is complete without the addition of smoke. Use a round blender brush or a fan brush to softly blend in wisps of warm gray or blue-gray paint, creating the illusion of smoke rising from the flames.
You can also add atmospheric effects, such as the warm glow cast by the fire on nearby objects or the flickering shadows it creates.
Conclusion
Painting fire is a rewarding and captivating experience. By understanding the nature of flames and following these step-by-step techniques, you’ll be able to create stunning and realistic fire paintings that truly capture the essence of this powerful element.
Remember, practice is key, and don’t be afraid to experiment with different brushstrokes, color combinations, and techniques to find your own unique style.
FAQs
What colors should I use for painting fire?
The primary colors for painting fire are cadmium red, cadmium orange, yellow ochre, titanium white, and a deep blue like Prussian blue or indigo. These colors allow you to create the characteristic color gradient of flames, from the hottest white and blue at the base to the cooler reds and oranges at the edges.
Can I use acrylic or watercolor paints instead of oils?
Absolutely! The techniques outlined in this guide can be adapted for use with acrylics or watercolors. For acrylics, you may need to work in thinner layers and allow each layer to dry completely before adding the next. With watercolors, you’ll need to work quickly and take advantage of the medium’s natural blending properties.
How do I create the illusion of movement in my fire painting?
To create a sense of movement and flickering, use a variety of brushstrokes in different directions and lengths. Incorporate wispy, upward strokes to mimic the dancing flames, and vary the intensity of the colors to suggest areas of higher and lower heat.
Can I use reference photos or videos to help me paint fire?
Absolutely! Studying reference materials is an excellent way to understand the behavior and characteristics of fire. Take photos or videos of real flames, or find high-quality reference images online. Observing the color gradients, movement, and interaction with surrounding elements will greatly improve your ability to paint fire realistically.
How do I avoid making my fire painting look flat or one-dimensional?
To create depth and dimension in your fire painting, pay close attention to highlights and shadows. Use thick, textured brush strokes or a palette knife to create raised areas of paint that catch the light, mimicking the three-dimensional nature of flames.
Additionally, incorporate surrounding elements and atmospheric effects to create a sense of depth and context for the fire.
By following these tips and techniques, you’ll be well on your way to mastering the art of painting fire. Remember, practice, observation, and experimentation are key to developing your skills and finding your unique artistic voice.
Leave a Reply